# User Guide
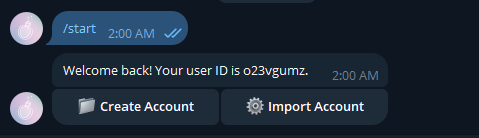
1. Start the bot by sending the command /start.
1
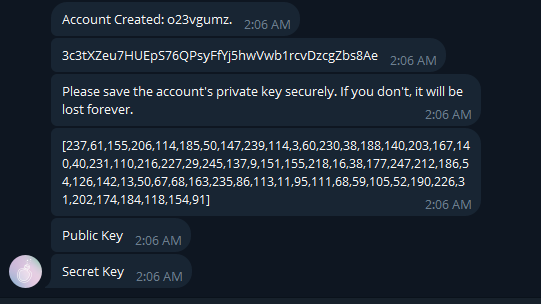
2. Click on "Create Account," which will provide you with two addresses: your public address and a private key.
2
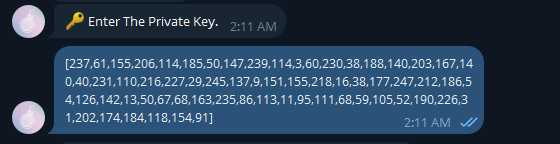
3. Copy the private key and click on "Import Account" to insert the key.
3
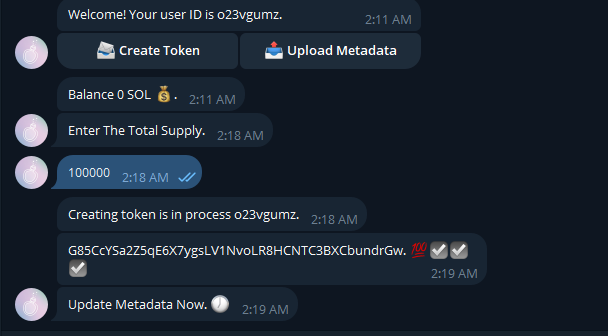
4-5. Deposit some SOL into your account to fund the token creation.
Click on "Create Token" and specify the total supply; the token address will be generated.
4-5
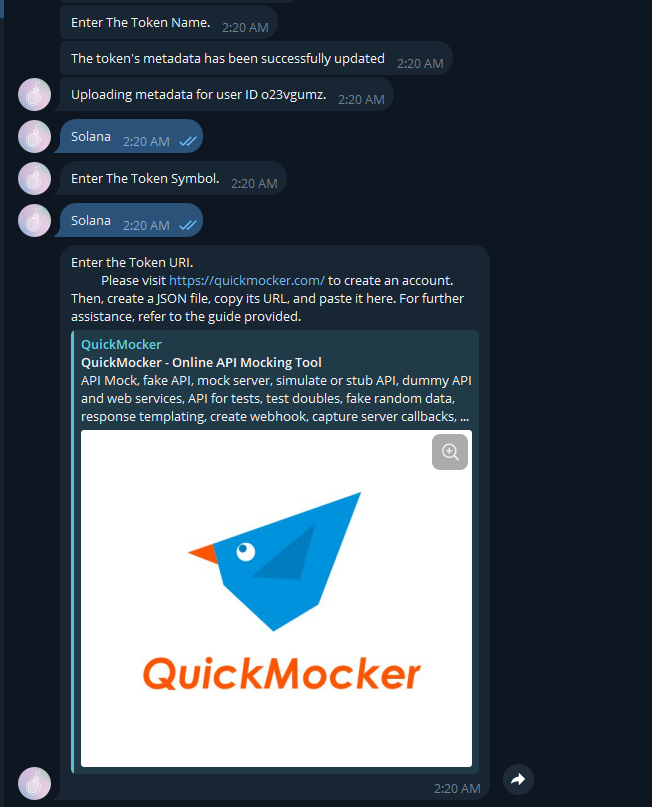
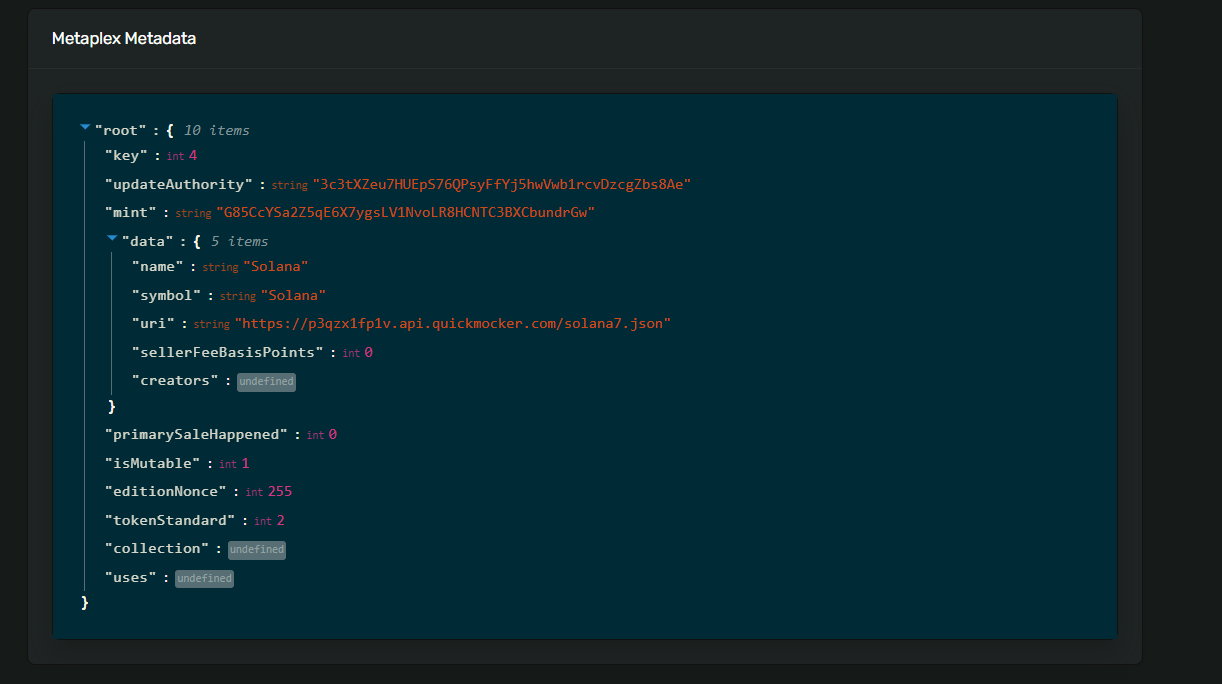
6. Proceed to "Upload Metadata" where you can set the token name, symbol, and URL.
6
7. To generate the URL, sign up for a free account at [quickmocker.com](https://quickmocker.com/).
Inside QuickMocker, create a project and add an endpoint with the GET method; the URL path can be anything, but it must end in .json.
Set the response type to JSON (application/json).
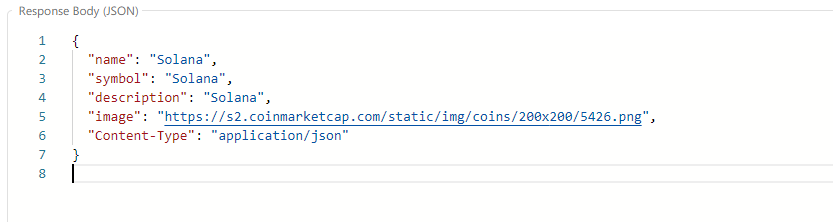
In the response body, enter your desired template.
Update the endpoint and copy the URL provided (e.g., ). Remove the 'q' and replace it with .json so that it ends with .json.
Template below:
1.{\
2."name": "Insert Name Here",\
3."symbol": "Insert Symbol Here",\
4."description": "Insert Description Here",\
5."image": "Insert Image URL Here",\
6."Content-Type": "application/json"\
7.}\
8\.
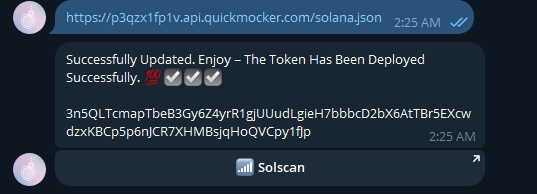
Paste the modified URL in the bot.
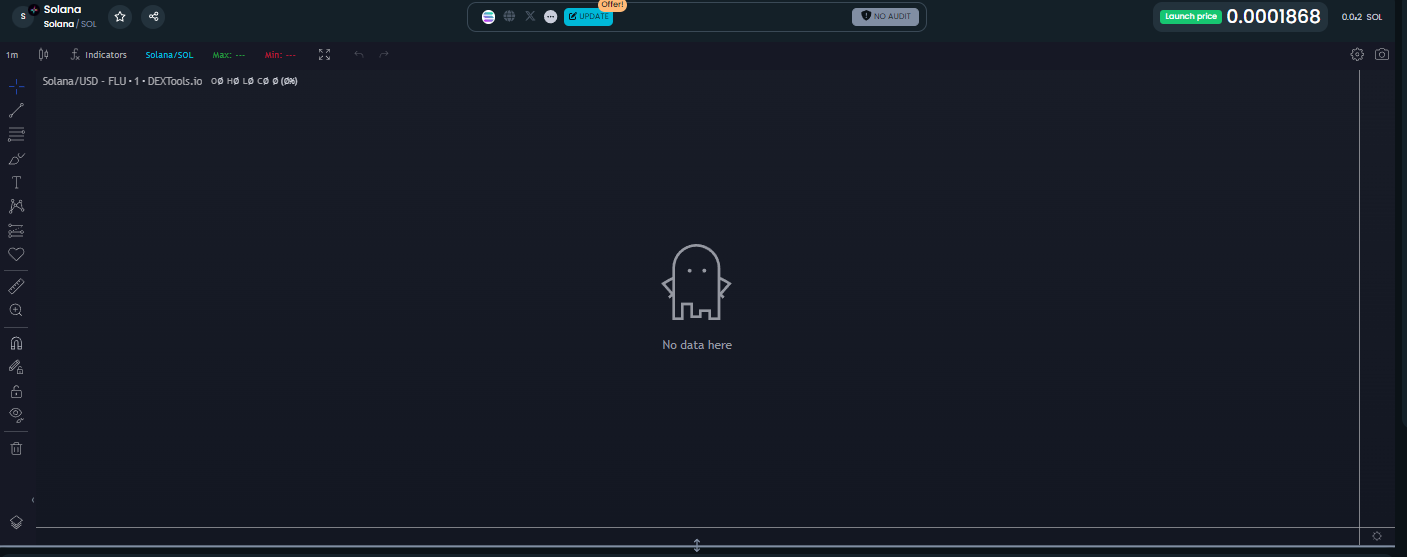
Your token is now fully deployed and ready to use.
\
To manually create a market and add liquidity to your Solana token, follow these steps:
1. Visit [Raydium Market Creation](https://raydium.io/create-market/).
2. Set the minimum price tick size to 0.000001 and provide your token contract.
3. Create the market and note the OpenBook market ID.
4. Go to [Raydium Liquidity Creation](https://raydium.io/liquidity/create/).
5. Input the OpenBook market ID and add the desired liquidity.
6. You'll receive LP tokens in return.
7. Access [FluxBeam Token Burn](https://fluxbeam.xyz/app/tools/token_burn) to burn LP tokens as needed.